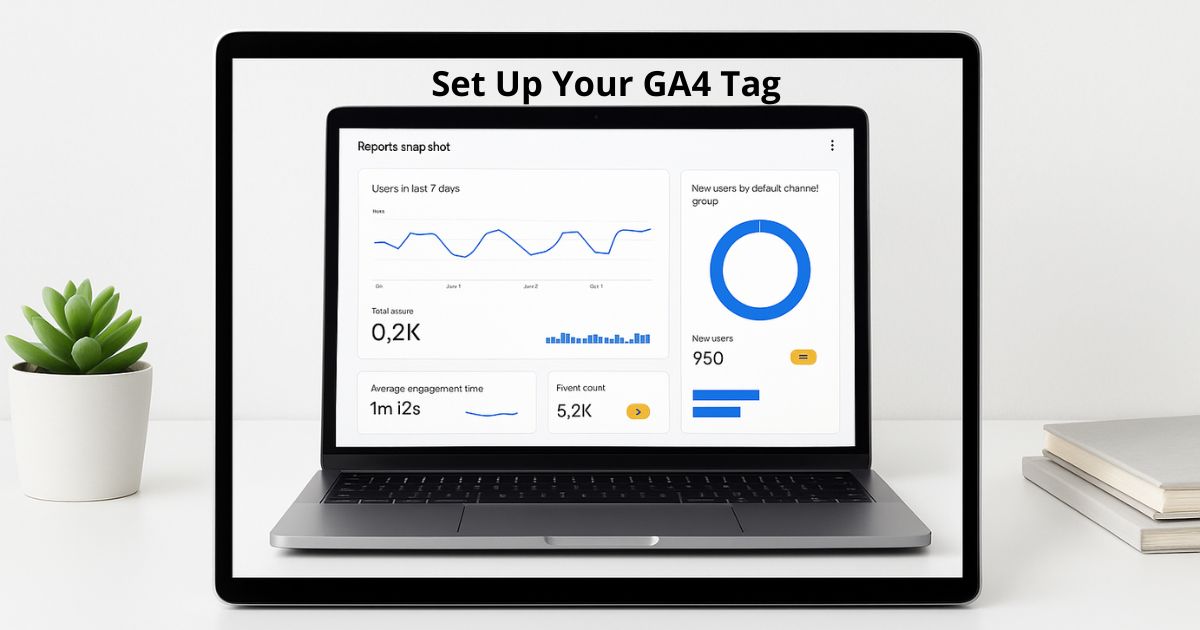
How to Set Up Google Analytics 4 on Your WordPress Site
Here’s a step-by-step guide to setting up Google Analytics 4 (GA4) on a WordPress site. I’ll include options (with and without plugins) so you can pick what fits your setup best.
1. Create a GA4 property in Google Analytics
If you haven’t already done this, you need to:
- Go to Google Analytics and sign in with your Google account.
- In the left sidebar, click Admin (gear icon).
- Under the “Account” column, select or create the account you want to use.
- Under the “Property” column, click + Create Property. Google Help+1
- Provide a property name, choose the reporting time zone, currency, etc., then click Next and fill business details. Google Help
- After the property is created, you’ll set up a Data Stream. Choose “Web”, enter your site URL and a stream name. Google Help+2Google Help+2
- Once the web stream is created, Google will give you a Measurement ID (starts with “G-”) and instructions for installing the Google tag (gtag.js). Google Help+2Google Help+2
Keep your Measurement ID handy, because you’ll need to put that into your WordPress site.
2. Add GA4 to your WordPress site
There are a few ways to integrate GA4. I’ll cover the major ones and their trade-offs.
Option A: Use a plugin (easiest and safer for most users)
Using a plugin is typically the easiest, because it reduces the risk of messing up theme files. Some good choices:
- Site Kit by Google — Google’s official plugin for WordPress that supports GA4.
- MonsterInsights — Has GA4 support and additional tracking features. MonsterInsights+2WPBeginner+2
- Analytify — Good alternative, integrates with GA4. Kinsta®+1
- HT Easy GA4 — Lightweight plugin where you just enter your Measurement ID. WordPress.org
Example: Using HT Easy GA4
- In WordPress dashboard, go to Plugins ? Add New.
- Search for “HT Easy GA4” and install + activate. WordPress.org
- Once active, go to its settings page (usually under “Settings” or a new menu).
- Enter your GA4 Measurement ID. Save. WordPress.org
- (Optional) Configure extra settings (e.g. exclude admin users, enable event tracking).
Pros:
- No editing of theme files.
- Updates and compatibility tend to be safer.
- Many plugins add extra tracking (downloads, scrolls, outbound links) automatically.
Cons:
- Adds another plugin overhead.
- Some advanced features may be behind a paywall.
Option B: Manually insert the GA4 tag (no plugin)
This is more hands-on and risky (if your theme updates, you could lose your code). Use a child theme if possible.
- Copy the gtag.js snippet from the GA4 “Install” instructions (they show how to “Add new tag ? gtag.js code”). Google Help+2Google Help+2
- In WordPress Admin, go to Appearance ? Theme Editor (or use FTP).
- Open header.php (or the file that outputs
<head>). - Paste the gtag.js snippet just before the closing
</head>tag. - Save.
After that, your site should start sending data to GA4.
Note: If your theme or WordPress setup has a “header scripts” or “custom code injection” area (e.g. under theme settings), you can use that instead of editing files directly.
Option C: Use Google Tag Manager (GTM)
This is a more flexible and scalable approach (especially if you have multiple tags or marketing tools).
- Create a Google Tag Manager account and container.
- Add the GTM container code into your WordPress site (via plugin or manually in header + body).
- Inside GTM, create a GA4 Configuration tag, using your Measurement ID.
- Set trigger to All Pages. Publish.
- (Optional) Add more tags for specific events.
Using GTM gives you control to add more tags later (e.g. for ads, pixels) without editing your theme again.
3. Verify and test
- In Google Analytics, go to Realtime > Overview.
- Visit your website in a different browser or private/incognito window.
- If setup correctly, your visit should appear in the Realtime report. Cloudways+2WPBeginner+2
- Use Google’s Tag Assistant (Chrome extension) or browser dev tools to inspect whether your site is sending the GA4 tag.
If nothing shows up:
- Check that the Measurement ID is correct.
- Make sure the code is in every page’s
<head>. - Ensure caching or optimization/plugins aren’t interfering.
- If using a plugin, check its settings or conflicts.
4. Additional configurations (optional but useful)
- Enhanced Measurement: GA4 supports automatic tracking of scrolls, outbound clicks, site search, etc. You can enable or disable in the stream settings. Google Help+1
- Event Tracking: You may want to set up custom events (form submissions, button clicks). If using a plugin or GTM, you can define those.
- Ecommerce Tracking: If your site is a WooCommerce store, you can enable ecommerce reporting so Google tracks product views, add-to-cart, purchases, etc.
- Excluding internal traffic: You may want to filter out admin or your own visits.
- Retention & data settings: In GA4 Admin > Data Settings, adjust how long Google retains data.


